Sourdough Starter


Buy the flour:


Creating a sourdough starter is quite straight forward, it will usually take a week or two to establish, requiring about 5-10 minutes attention each day… but it’s totally worth it!!
Once the starter is established, you’ll only need to feed it when you come to make dough or once every few weeks if you’re not making dough regularly.
This recipe will create a ‘100% hydration’ starter, using the 1:1:1 method, perfect for sourdough Neapolitan pizzas…
Preparation
Things you’ll need:
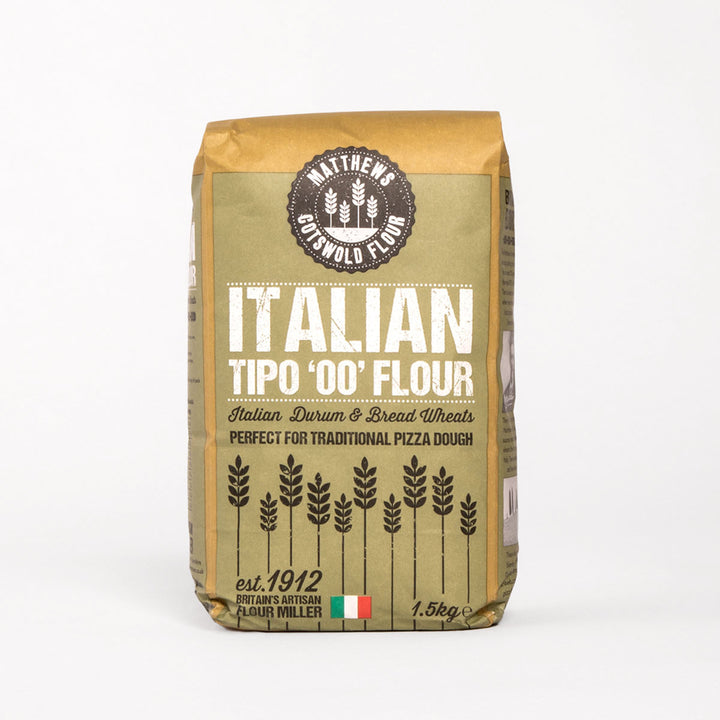
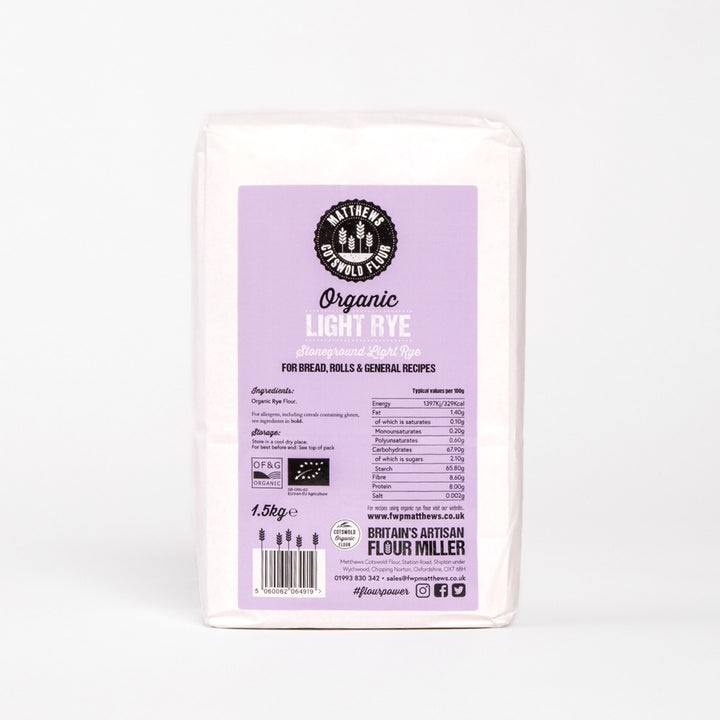
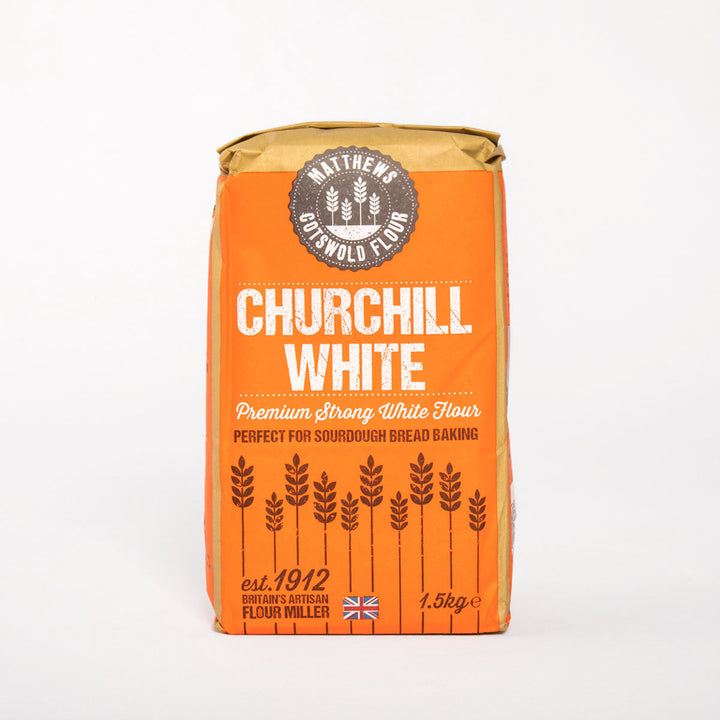
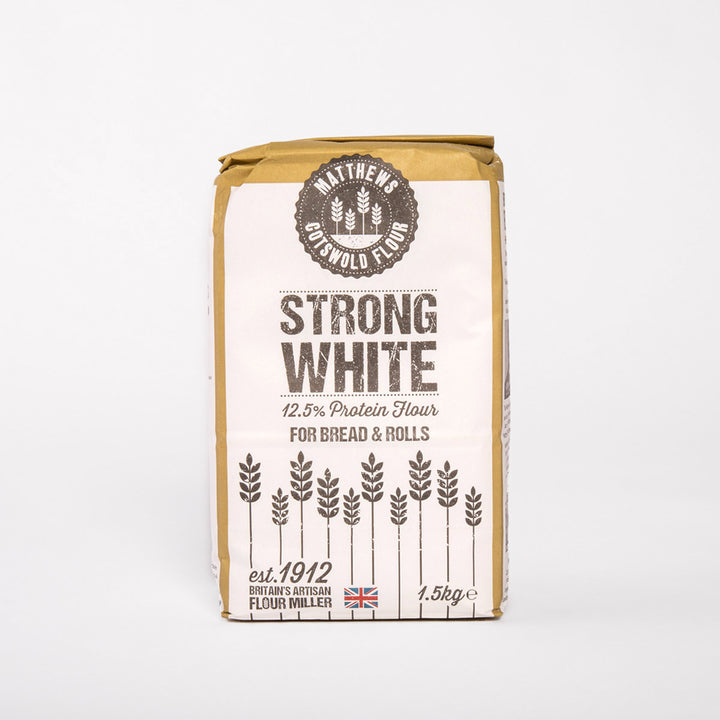
Flour – The flour used in this recipe is a 50/50 mix of Organic Light Rye Flour and Italian Tipo 00 Pizza Flour, but you can use Strong White Flour or our Cotswold Churchill Flour. For ease, you can mix some up and store it in a container beforehand ready for the feeds.
10g of honey to give it a kickstart (not essential).
A tall clear container with an air-tight lid, with enough room for the starter to grow. 1L-1.3L is an ideal size but bigger is fine.
A breathable lid for the container – this can be just a piece of kitchen paper and an elastic band.
An elastic band to mark the starting level of the starter.
Scales
Make a note of the weight of the container you are keeping your starter in without the lid on as you’ll need this when feeding.
Day 1
Mix together 100g of tepid water, 100g of flour and 10g of honey. Stir well to form a smooth batter. Clean and scrape down the sides of the jar with a wet silicone spatula. Cover with a breathable lid and leave in a warm place for 24hrs.
Day 2
Give the starter a quick & gentle stir and then discard all but 100g of the starter (this is where you need to know the weight of the jar). Now add in 100g of the flour and 100g of tepid water. Stir and mix well ensuring there is no dry flour left. Clean and scrape down the sides of the jar, replace the breathable lid and leave in a warm place for 24hrs.
You have just given it it’s first feed – easy isn’t it!? This is called the 1:1:1 method as it’s 1 part starter, 1 part water, 1 part flour.
Day 3
Inspect the starter and you may see signs of bubbles. If not, don’t worry, it may take longer depending on the temperature and conditions its kept in. It may also have quite a pungent aroma at this stage which is normal. Give the starter another feed just as you did yesterday and leave for another 24hrs.
Day 4
The chances of seeing some activity will increase each day. Feed the starter again and leave for 24hrs. Place an elastic band around the level of the starter now so you can see easily if the starter is rising and by how much.
Day 5 Onwards
You should start to see that starter is rising after each feed over the course of several hours. There should be lots of bubbles and you’ll see lots of pockets of air when you stir it.
To speed up the process you can also switch to 2 feeds a day if you wish, roughly 12hrs apart. Repeat the feedings either daily or twice-daily until the starter is predictably rising and at least doubling in size within 6-7hrs of a feed.


Once established
Once your starter is rising nicely after each feed and the smell is now much more pleasant, it is ready to use. This may have taken a week if you’re lucky or it may have taken 2 or 3 weeks, it can vary significantly.
The breathable lid is no longer needed, so for feeding and storing just use the air-tight lid going forward.
So now that your starter is established, you no longer need to feed it every day. It can be kept in the fridge with the lid on for a week or two without feeding. If you are going away or don’t plan to use it for some time, simply feed it and put it straight in the fridge rather than leaving it out to rise, it will be happy for 2-3 weeks easily.
Using your starter
To make pizza dough you’ll need to add a certain amount of starter to the dough. To work out how much starter you need, use the Sourdough Ingredient Calculator. Make sure that the amount you need is no more than 220g so that sufficient starter is left over for next time as you currently have a 300g starter.
When you come to make the dough, you’ll need to feed the starter and once it has risen and peaked, its ready to use in the Sourdough Pizza Recipe. You want to catch it as close to its peak as possible as this is when its at its most active and will give the best results. Once you’ve removed what you need for the recipe, scrape down the sides of the jar and seal it with an air-tight lid. Return the starter to the fridge (without feeding it) and it will sit there happily without feeding until the next time you make dough.
When its time to make dough again, just remove it from the fridge, feed it and wait for it to peak again before using. If the starter seems sleepy then you may need to double feed it by just doing two feeds back to back to get it fully active again.
Avoiding waste
Feel free to increase or decrease the amount of starter you keep. You may find that having a 300g starter each time (100g starter, 100g flour, 100g water) is too much as you only require 80g of starter to make your pizzas. In this case, reduce down the quantities, just make sure you stick to the 1:1:1 ratio. So for example you could discard all but 60g of starter then add 60g of water and 60g of flour giving you a 180g starter each time, minimising the amount of discard each time.
There are lots of recipes on the web for making things like pancakes, pretzels, muffins etc with sourdough discard so don’t throwing your discard away, store it in the fridge in a separate air tight container for another time. It will keep for months.
Shop our sourdough flours on our online flour store.
-
Thank you to the wonderful people at The Pizza Bubble for the recipe.
← Older Post Newer Post →


